
Updated: February 23, 2026
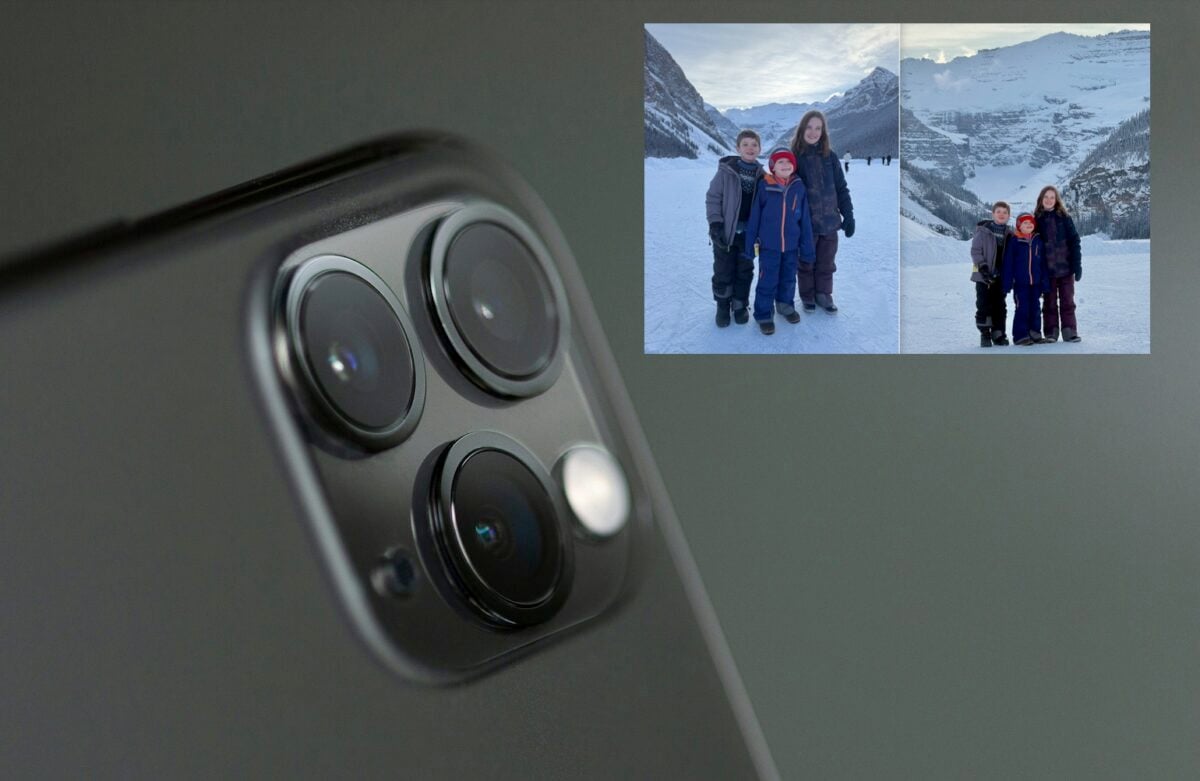
If you’ve ever snapped a photo with your iPhone of the massive peaks surrounding you only to look at it later and think, “That’s not how big it felt,” you’re not alone, and it’s not imagining things, it’s your camera lens. Most iPhones default to a wide-angle perspective (1x or 0.5x), and wide-angle lenses tend to push the background farther away. In real life, that ridge looked imposing and that cliff band looked huge. In the photo? Everything flattens out, and the mountain suddenly looks like a backdrop instead of an awe-inspiring chunk of earth.
The easiest way to fix that is by using your iPhone’s zoom feature to “compress” the scene. In photography terms, compression refers to how longer focal lengths make the background appear closer to your subject.
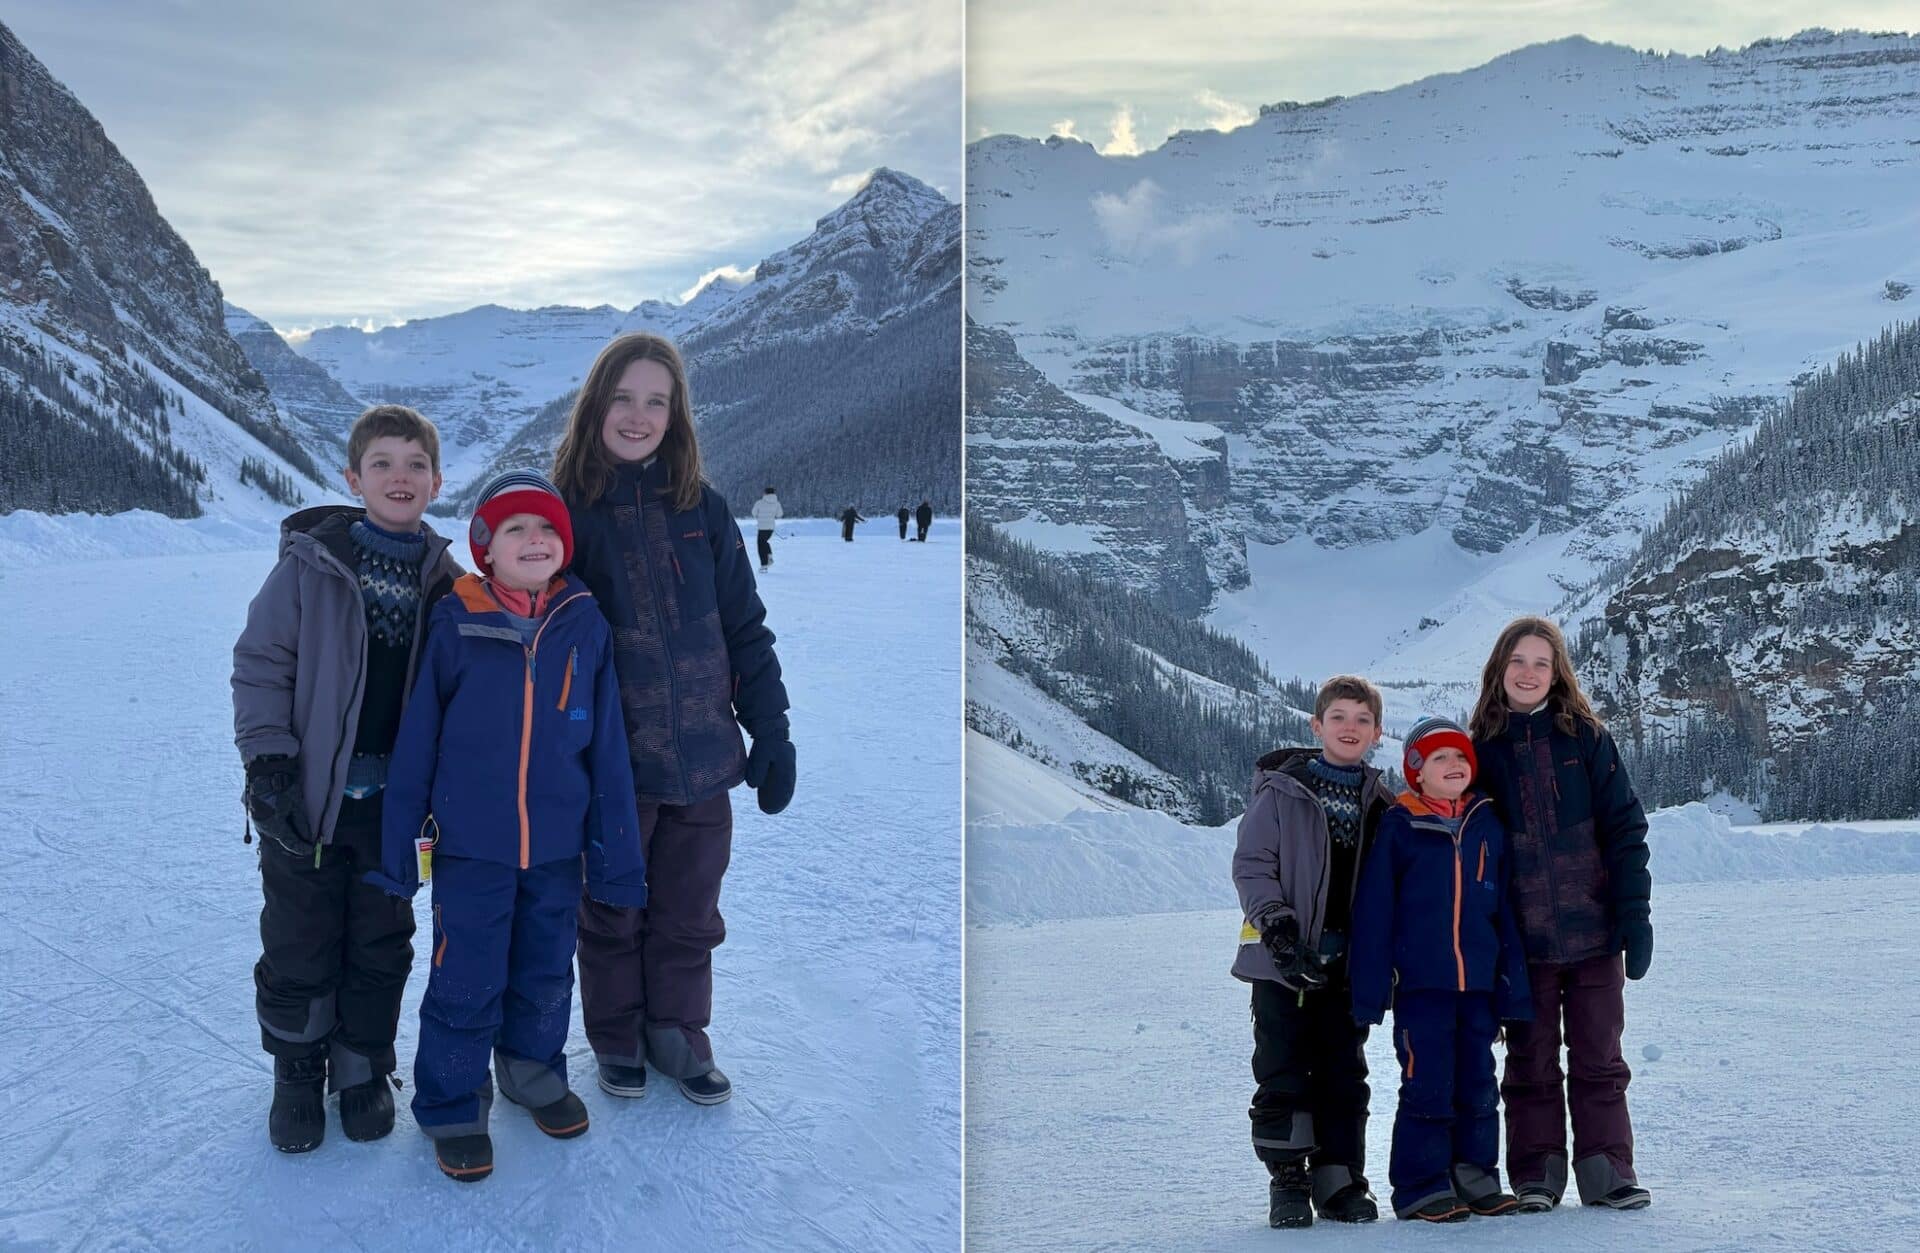
In normal human terms: zooming in makes mountains look bigger and lines look steeper. Instead of standing close to your subject and shooting at 1x, back up and tap 2x or 3x. If you’re using a Pro model with a telephoto lens, even better — that optical zoom will give you cleaner results than pushing into heavy digital zoom. By increasing the distance between you and your subject and then zooming in, you visually stack the elements of the scene together. Peaks loom larger. Walls tighten up. Terrain features feel more dramatic.
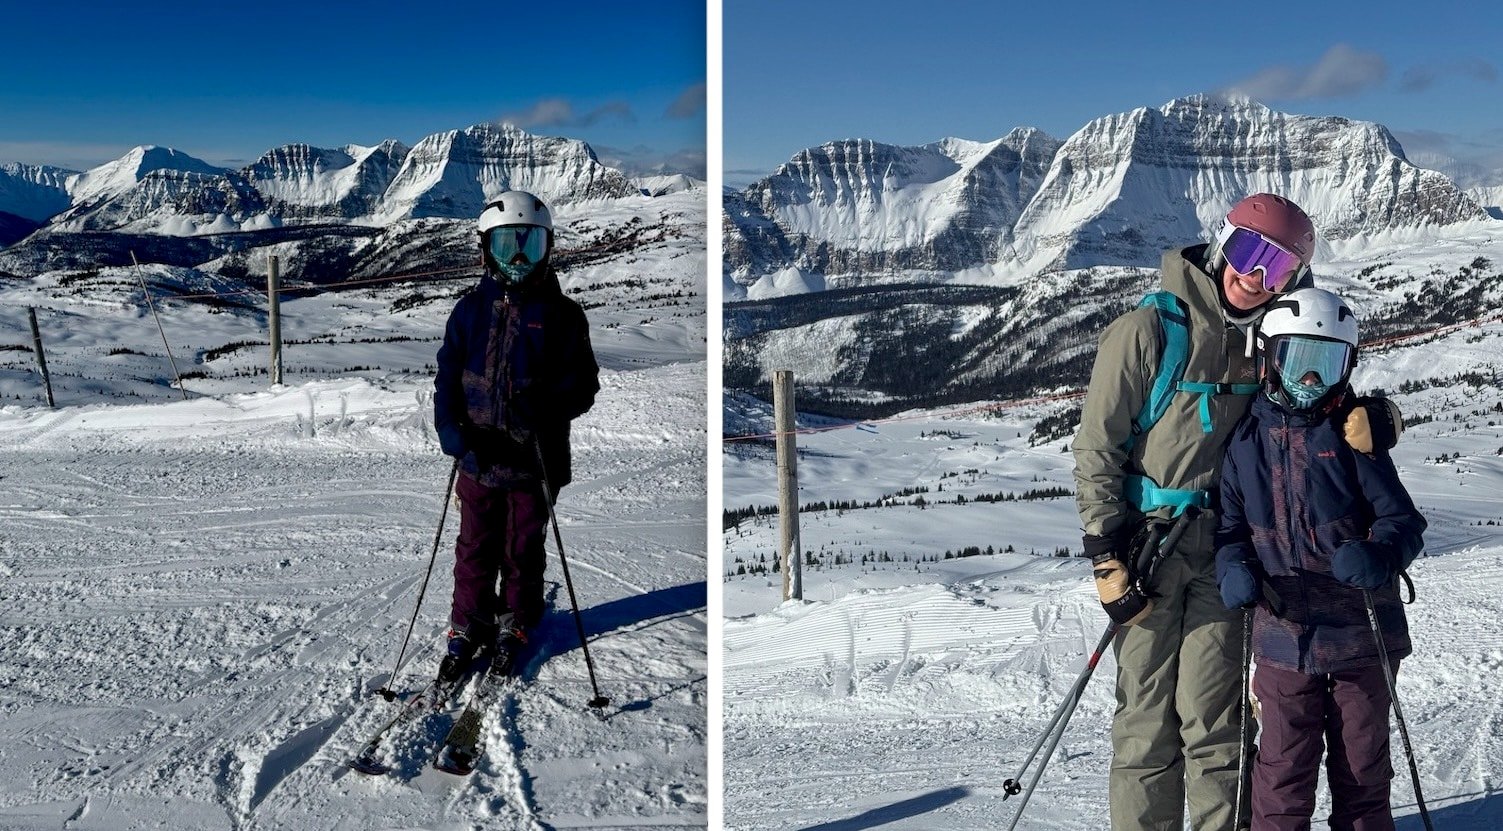
This makes a huge difference when you’re shooting skiing or snowboarding. A wide-angle shot from close range can make a steep couloir look mellow and spaced out. Back up the same distance, zoom in to 3x, and suddenly the walls feel narrow and imposing, just like they did when you were standing at the top. The same trick works for mountain biking, climbing, or even just photographing your crew in front of a big alpine backdrop. Compression helps eliminate that “tiny person lost in a giant frame” look and replaces it with something that actually conveys scale.
There’s one important thing to remember: Zoom alone doesn’t create the effect — your position does. If you stay in the same spot and just pinch to zoom, the difference won’t be as dramatic. The key is to physically move back, create distance, and then zoom in. That combination determines how the background relates to your subject. Also, keep in mind that Zoom amplifies camera shake, so brace your elbows, lean against something solid, or fire off a quick burst to keep your shot sharp.
Pair this technique with good light — early morning or late afternoon — and your photos will look more professional right away. Side light adds texture to snow and rock, and when that textured terrain is visually compressed, it pops.
So next time you’re out there and the mountains feel massive, stop blasting everything at 1x. Back up. Zoom in. Let the landscape stack up behind your subject. Your photos will finally match what it actually felt like standing there.